-
Navigate to the Land page by clicking Menu>Land
-
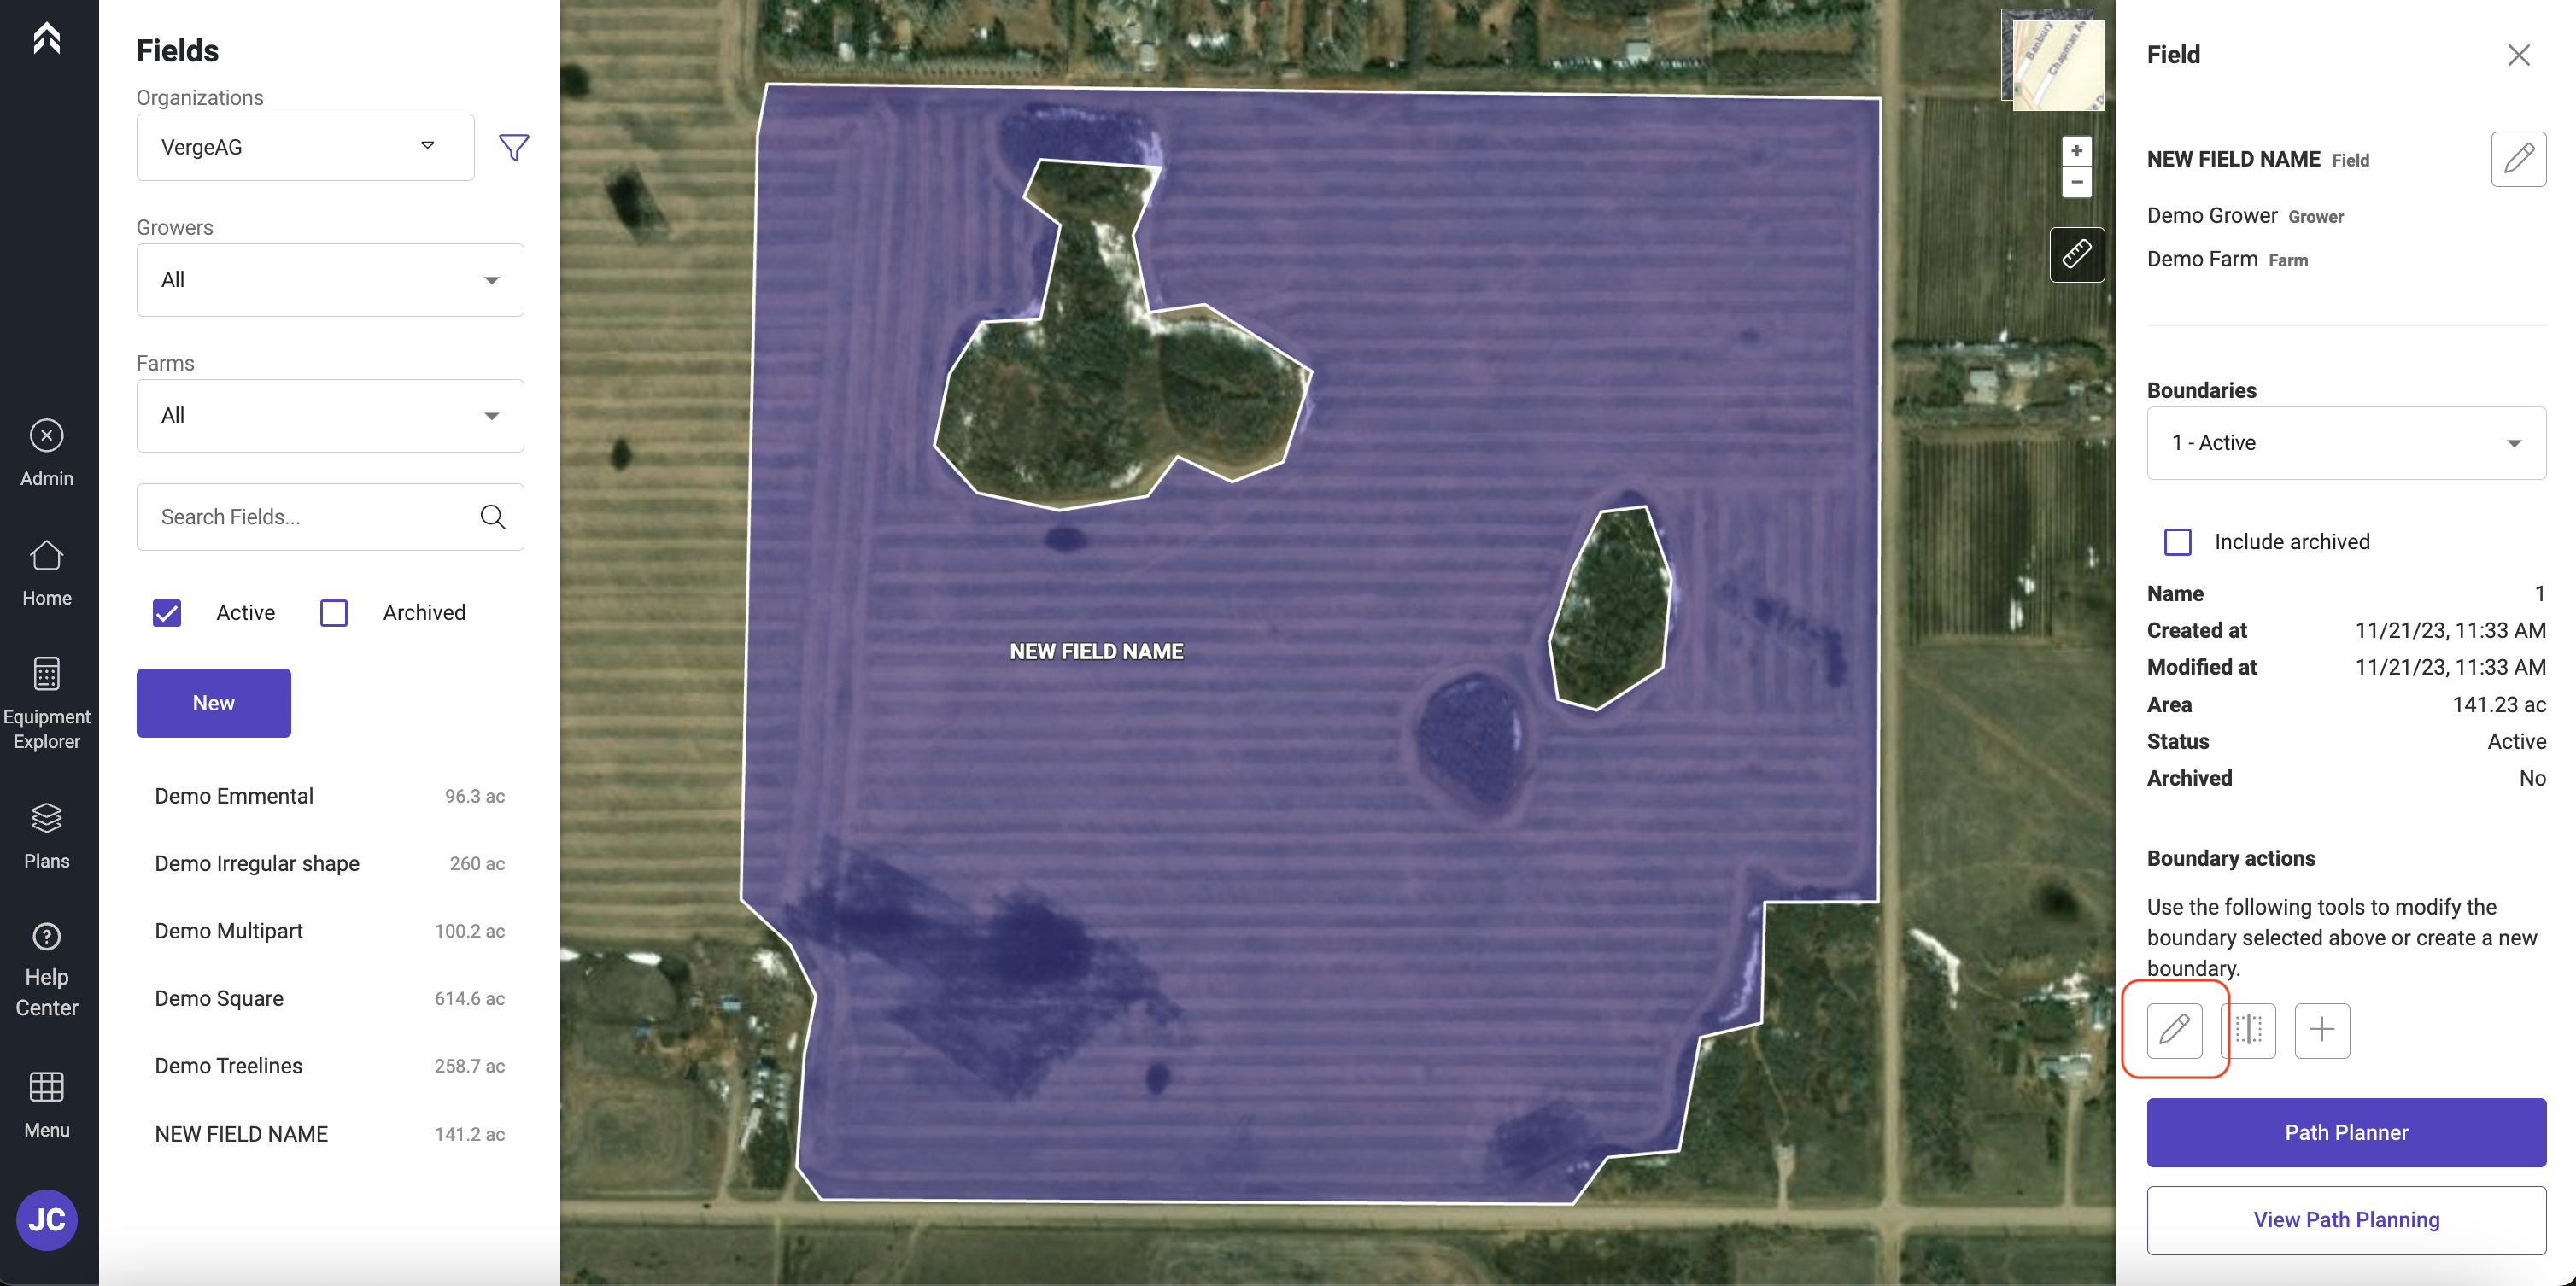
Select the field to be edited
-
Click on the pencil icon under Boundary Actions
-
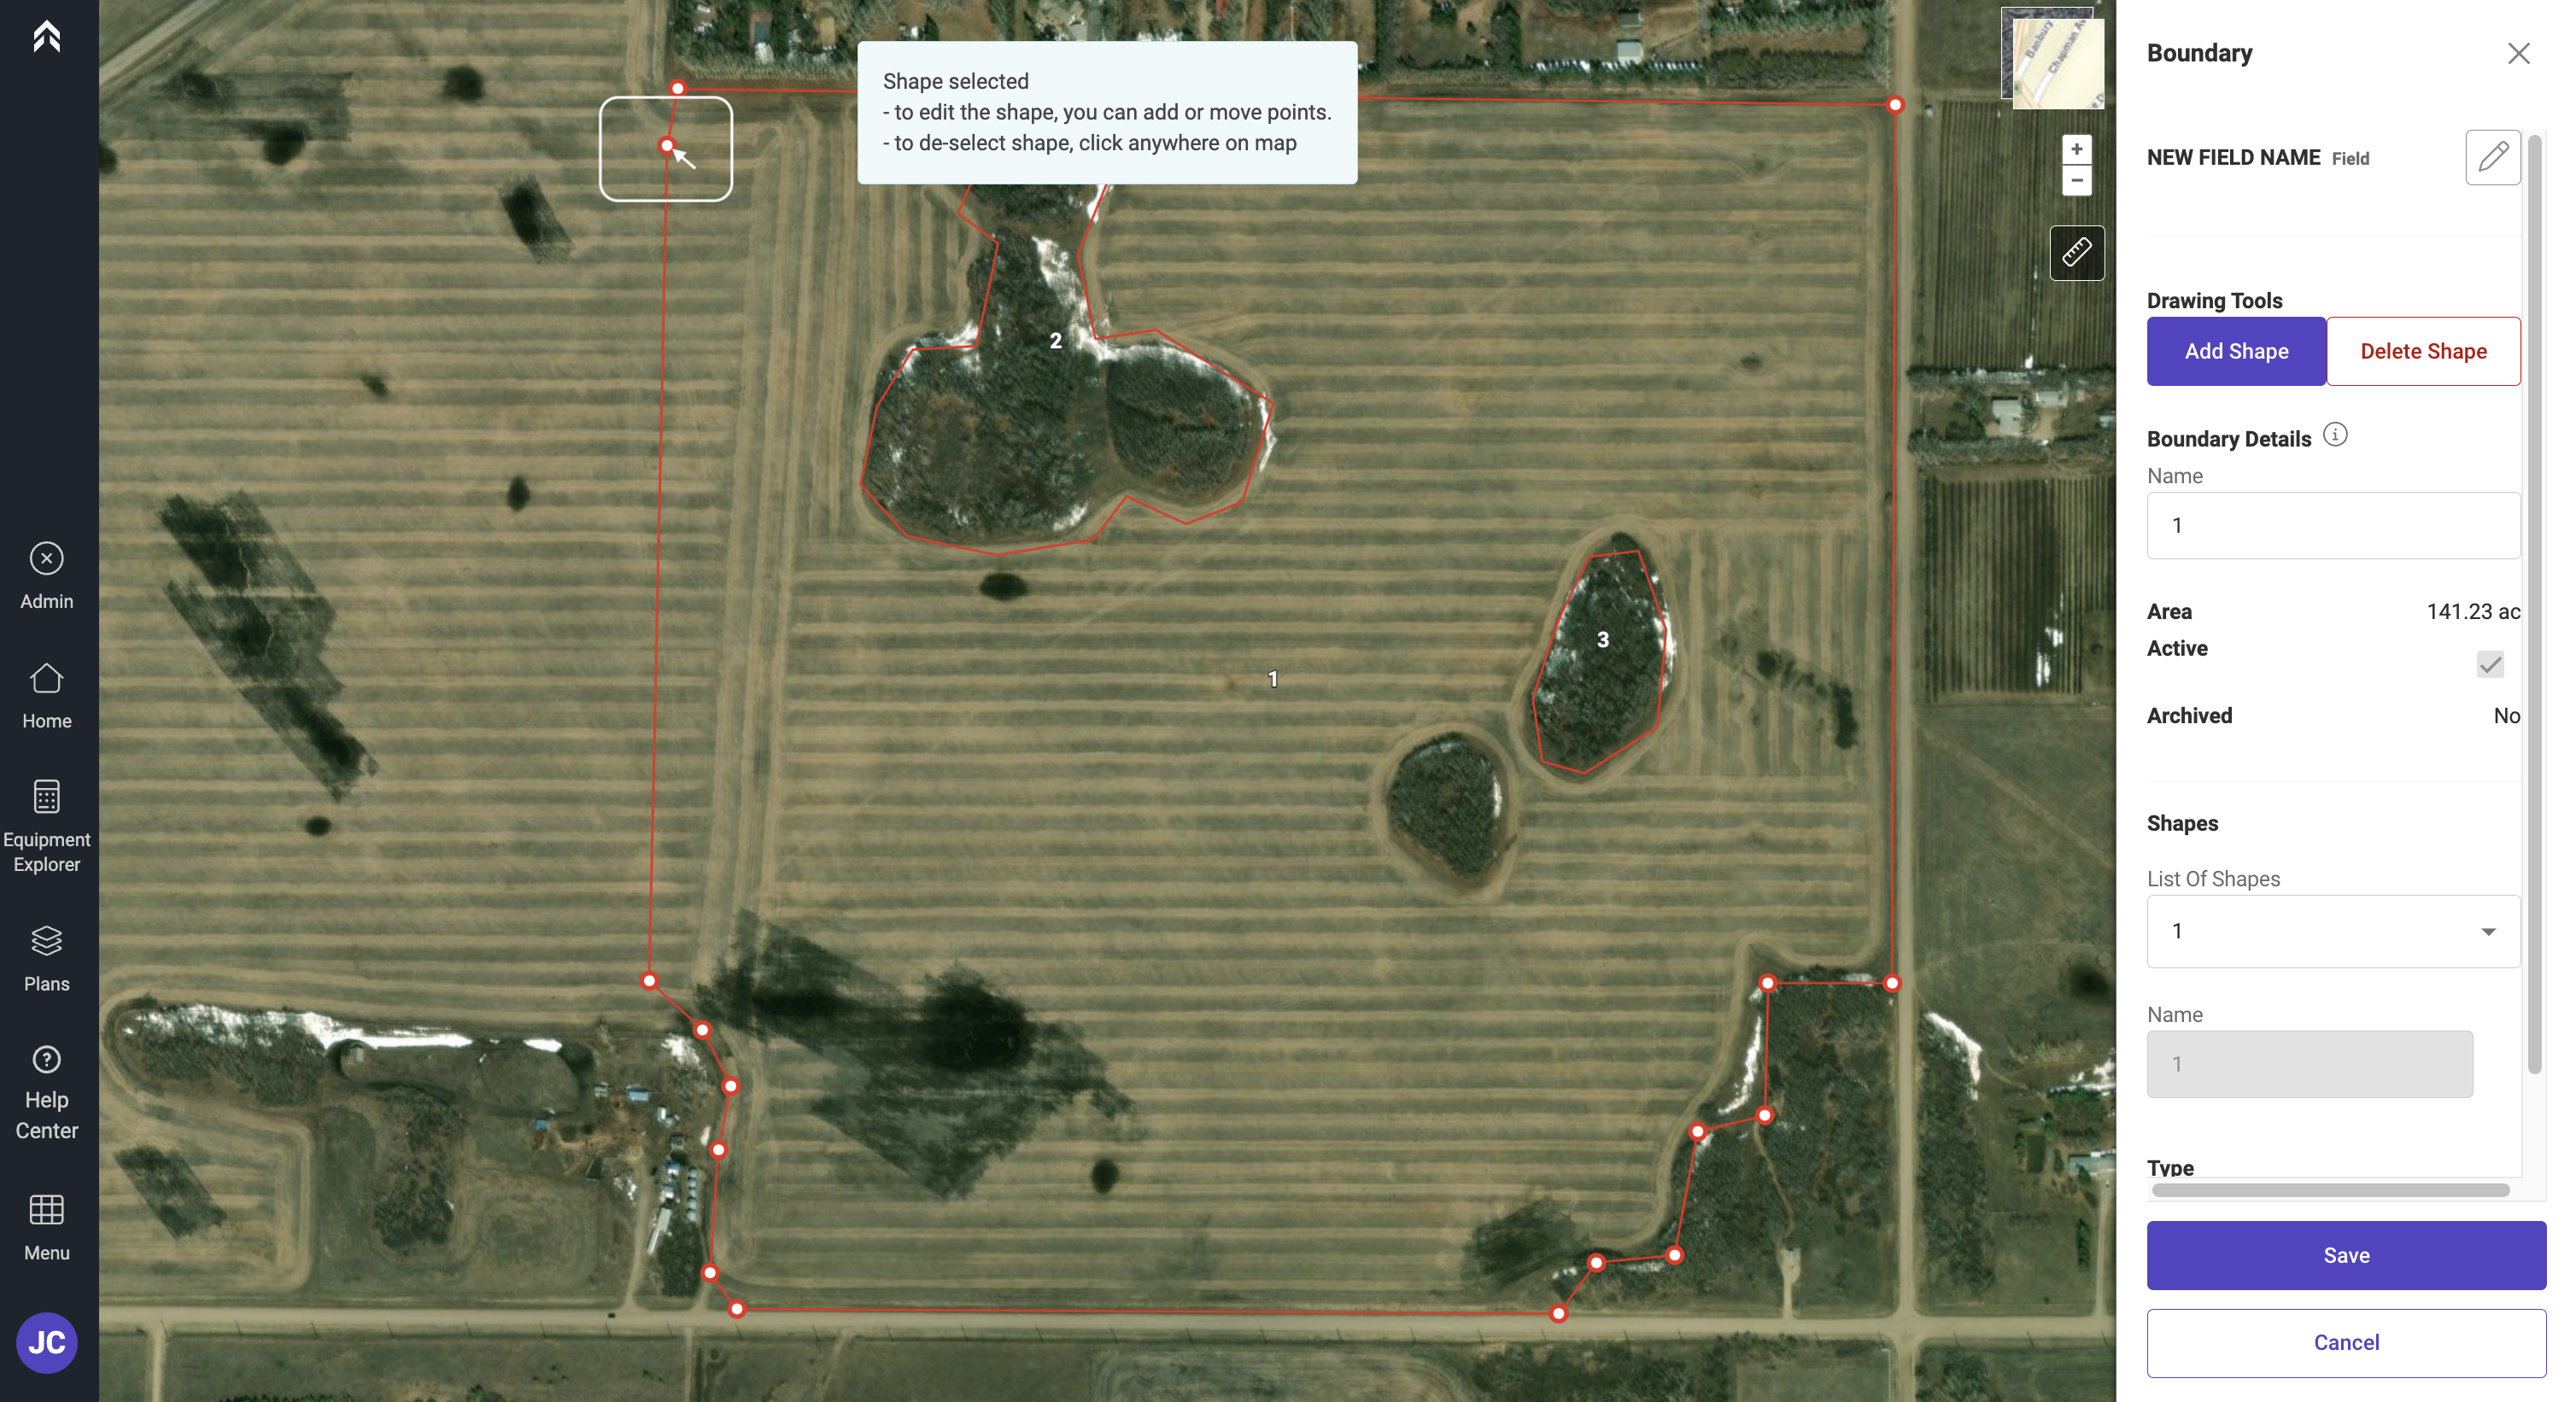
Select the polygon to be edited and the vertices will display

-
click and hold on any of the points to move them
-
If you would like to add additional points click anywhere on the red line and an additional point will be added to the boundary
-
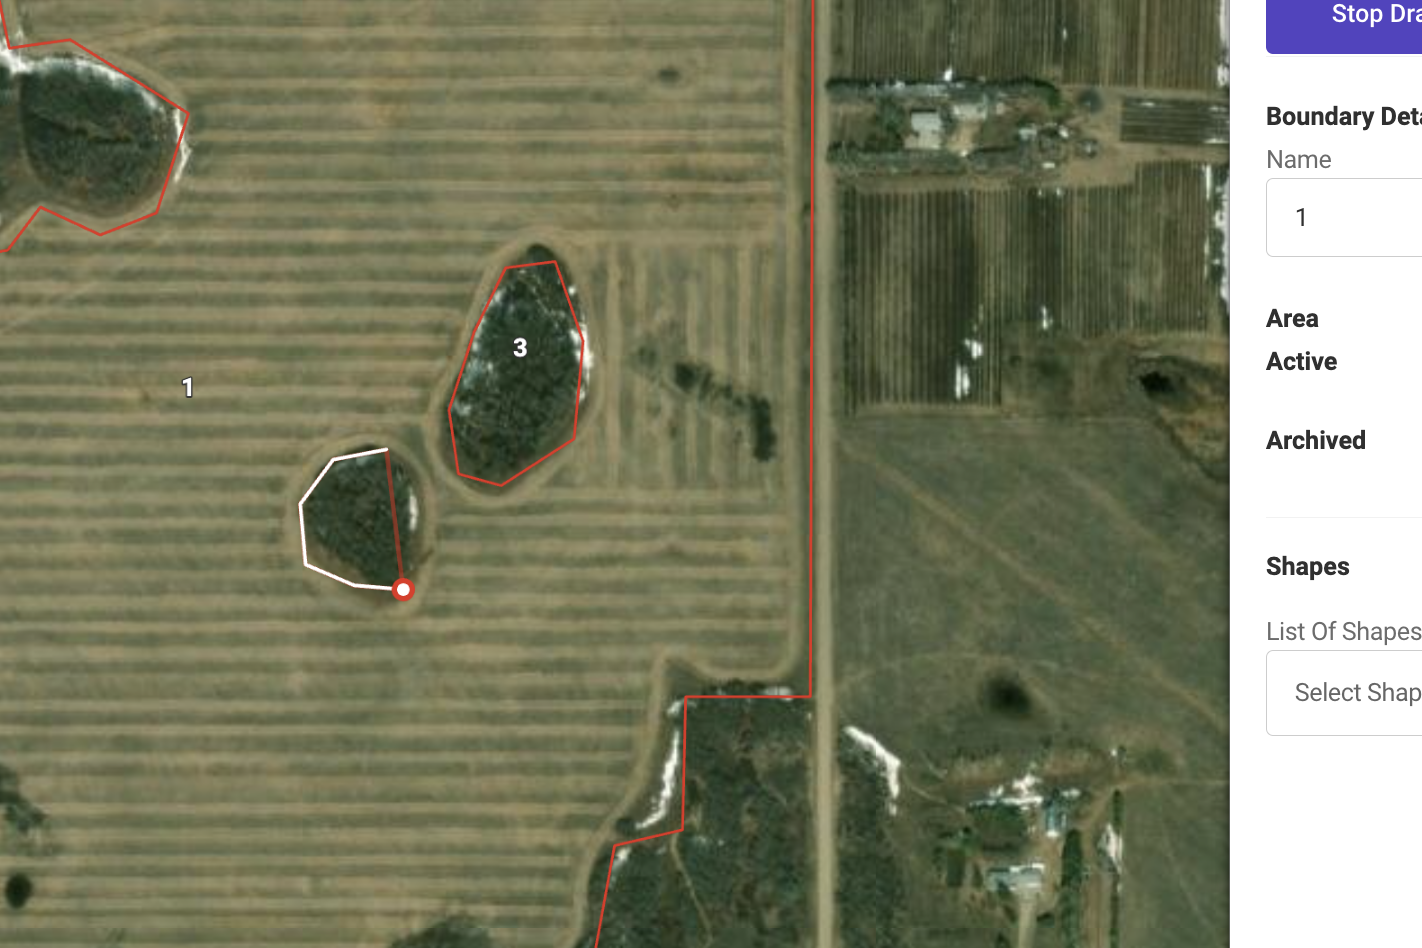
To add additional polygons (internal or external) click on Add Shape
-
As you click it will add the points to create a new shape.
-
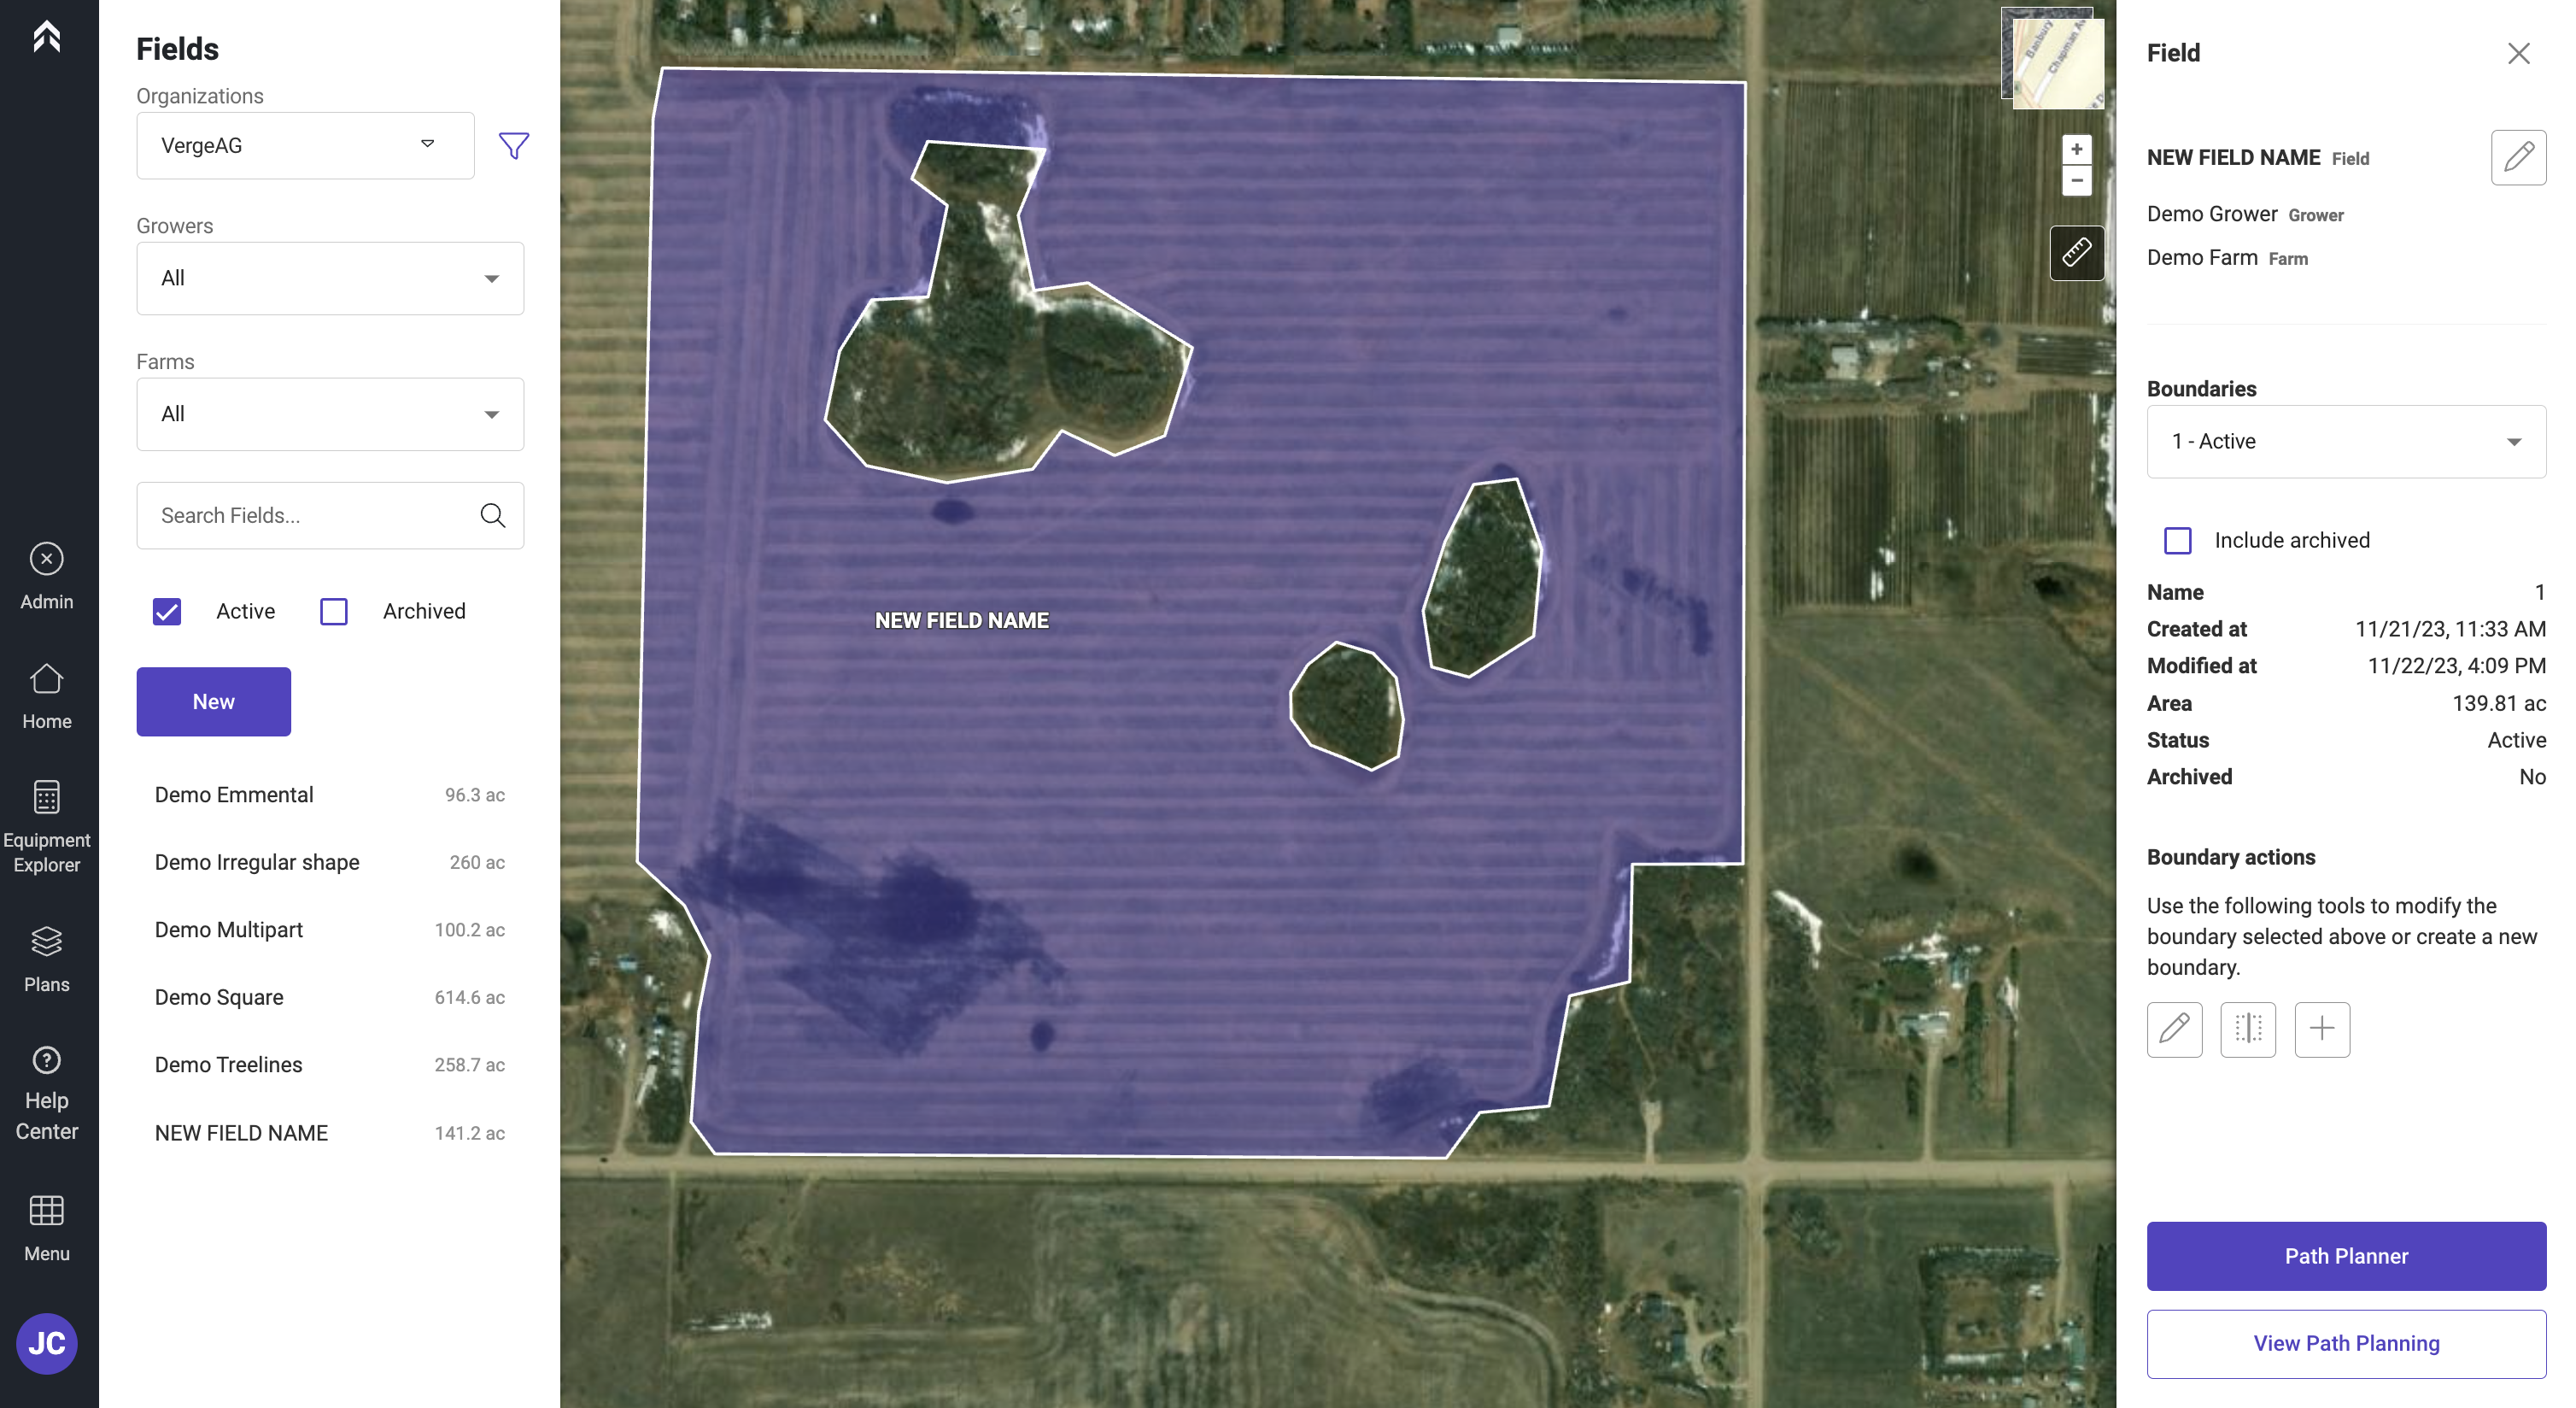
When complete click Save to save the changes
To Split an Existing Boundary
This can be used to decompose a field to allow multiple headings to be completed in a field
-
Navigate to the Land page by clicking Menu>Land
-
Select the field to be edited
-
Click on the Split tool icon under Boundary Actions

-
Select the type of line to split by.
-
Straight - Split lines
-
Curved - As the user drops points across the field the line is automatically smoothed
-
Freehand - Allows the user to draw a continuous line
-
Imported Lines - Allows the user to split a boundary by an imported line
-
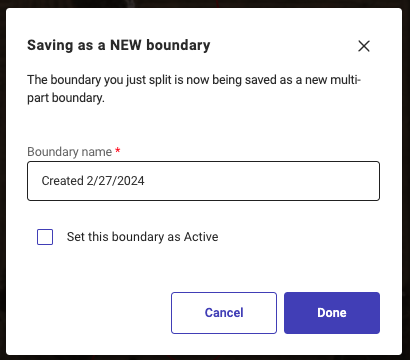
Once the split is completed you can save the boundary as a new instance that is selectable while Planning.
-
Click Save As
-
Enter the name for new boundary and Click Done
To add an alternate boundary to a field
This allows an additional boundary to be added to a field. This can be used during the Path Planning process. For example if a user has a boundary for a wet season and one for dry.
-
Navigate to the Land page by clicking Menu>Land
-
Select the field to be edited
-
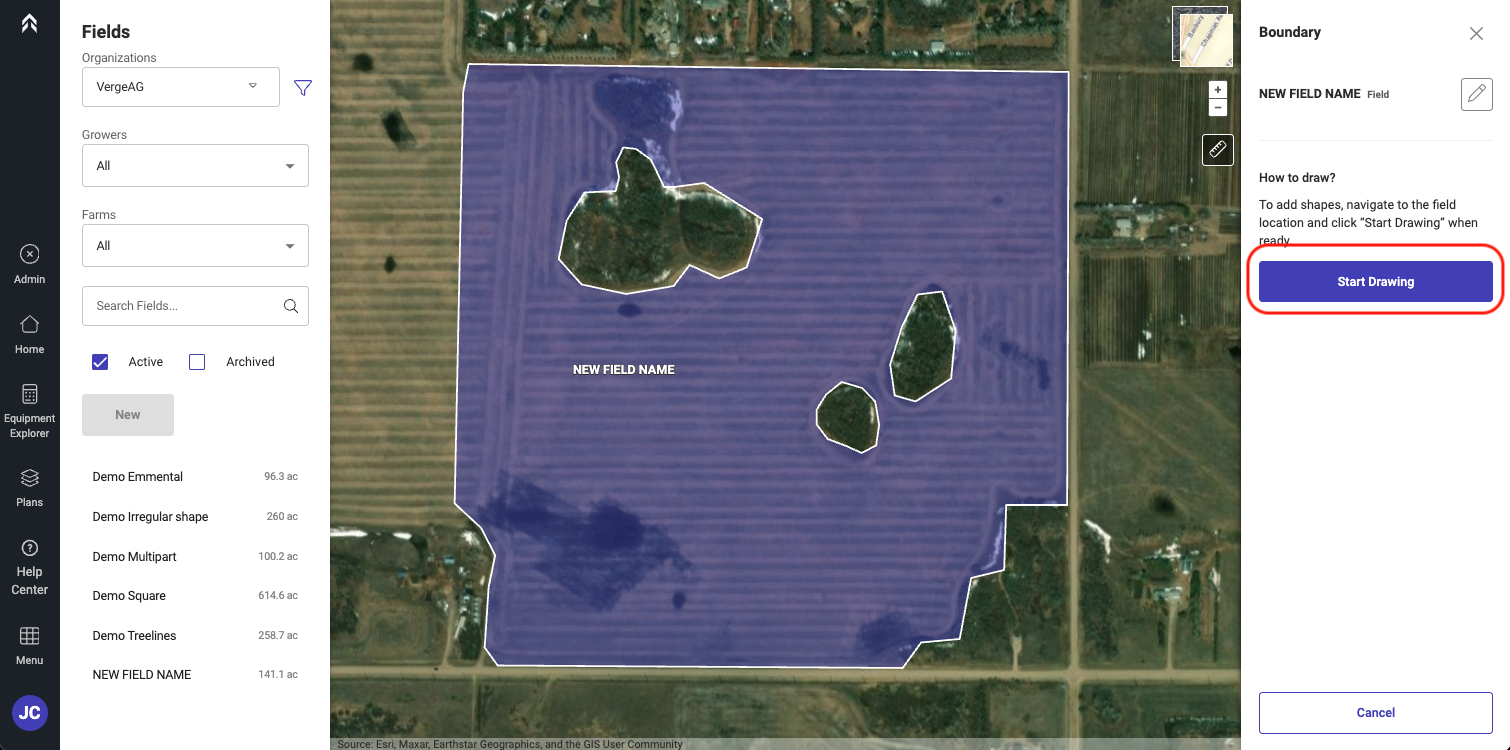
Click on the Add icon under Boundary Actions

-
Click Start Drawing
-
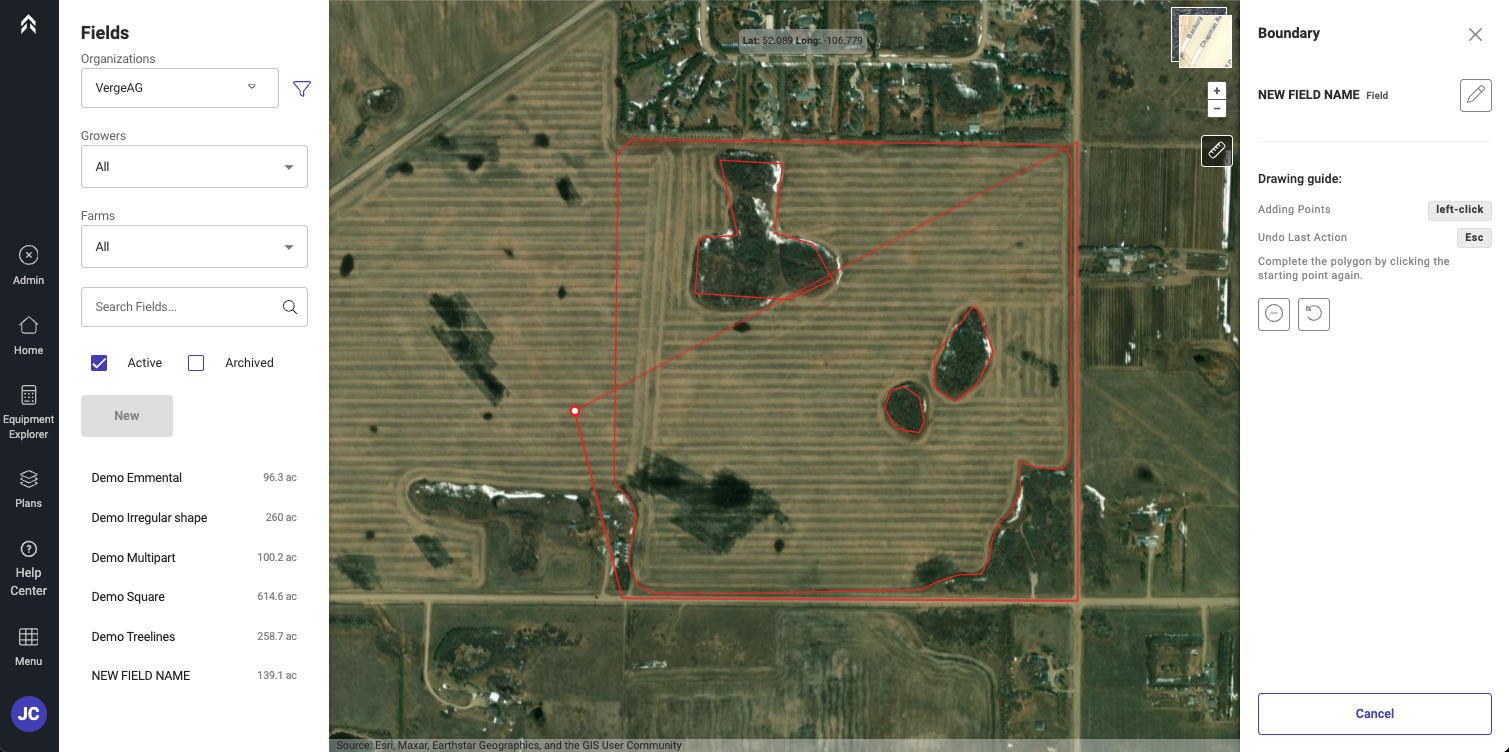
click to add points to outline the new boundary.
-
While Drawing the new boundary the original will be displayed in the back ground.
-
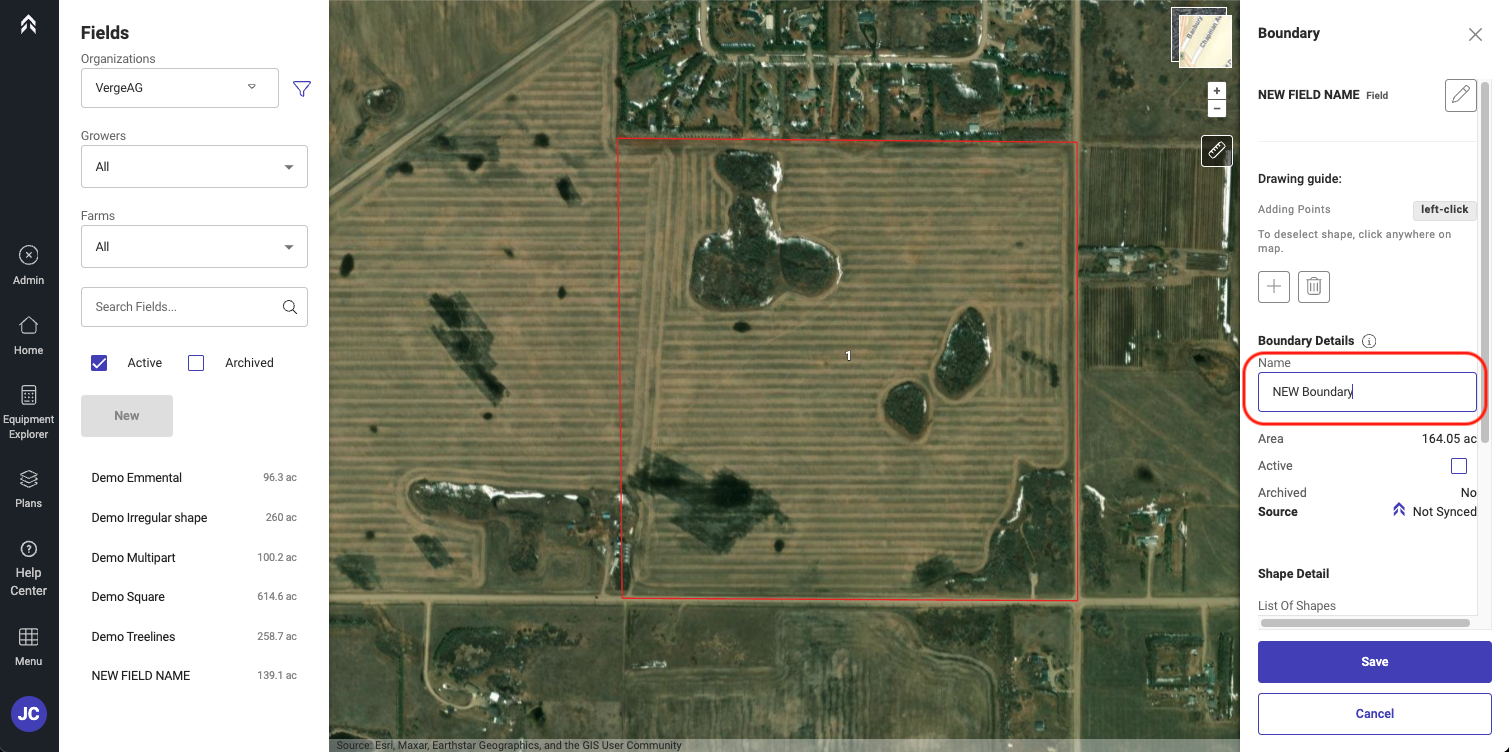
Enter a name for the new boundary Instance
-
Click Save and the new boundary will be added to the selectable boundaries on this field.